

How To Install Select Surfaces Click Laminate Flooring
*This post may contain affiliate links, but all opinions are 100% mine*

Subsequently Harvey came and pretty much destroyed our home I knew I would want to supplant the hardwood flooring with Select Surfaces Premium Laminate. I am no stranger to this product and I admittedly love it! Earlier the tempest we had just finished installing Select Surfaces Brazilian Coffee in the residual of our home and when Select Surfaces heard what happened to us during the hurricane they didn't hesitate to send replacement flooring to u.s.a. for free! I really do love these Canadians and their awesome company. Their generosity reminds me how truly blessed my family has been through this process. Ironic to think that a hurricane – a major disaster – could be a approval, just it truly has shown me people'south kindness and willingness to assist others in demand.

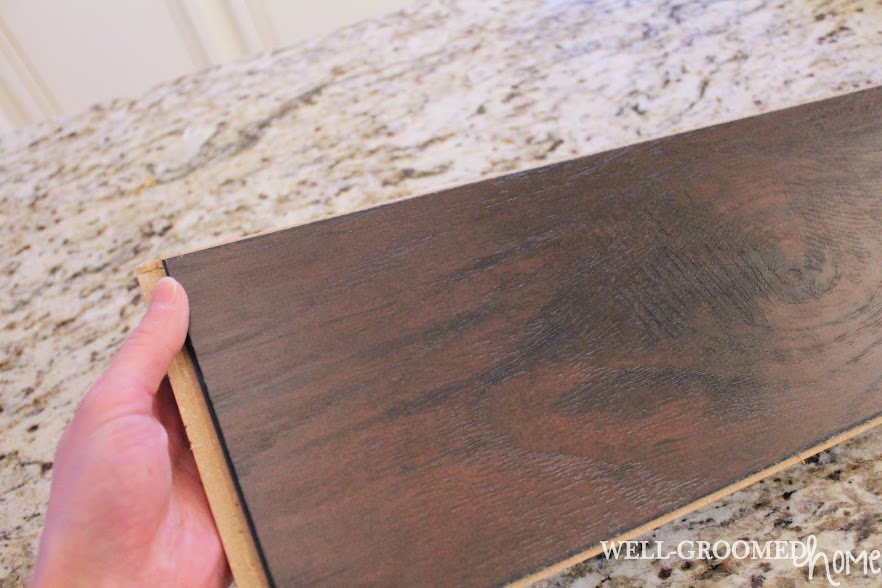
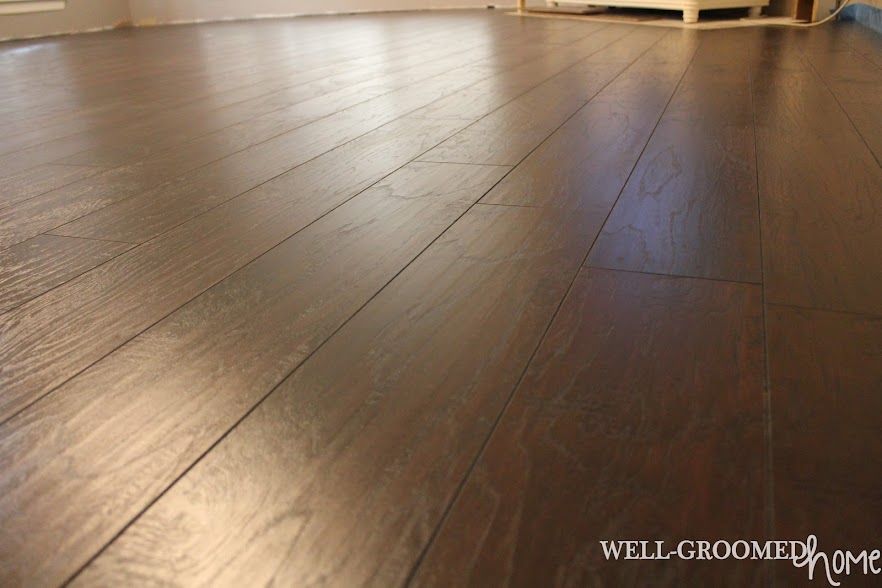
The primary reasons I love Select Surfaces laminate are that information technology's pretty much indestructible and it'southward actually pretty. We chose the color Espresso available at Sam'due south Club. Almost people cannot tell information technology's laminate until they get down on the floor and audit it…even and so information technology'due south tough with the realistic wood grain and the fact that it comes as private boards. I loved the durability before Harvey and this time the installation went so effortlessly. Honestly, I didn't break a sweat, which in Houston is a hard thing to avoid! The company revamped their popular premium laminate and here are some of the my favorite new features:
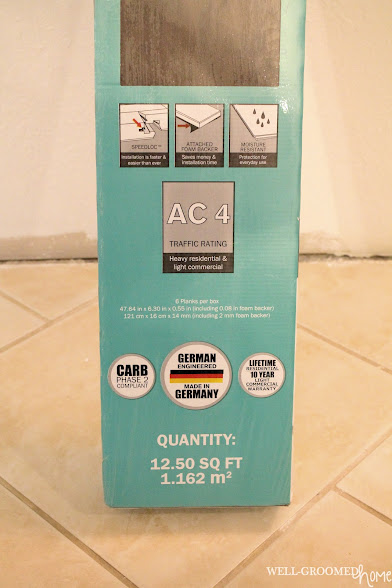
- Speedloc™ installation system that'southward a cakewalk to install
- German language pattern and manufacturing
- new beveled edges on each board resist chipping and increase the realistic wood look
- lifetime residential warranty and ten yr light commercial warranty
- pre-attached cream backer that eliminates the hollow clicking audio mutual with other laminates
- even lower emissions rating and CARB Phase two compliance
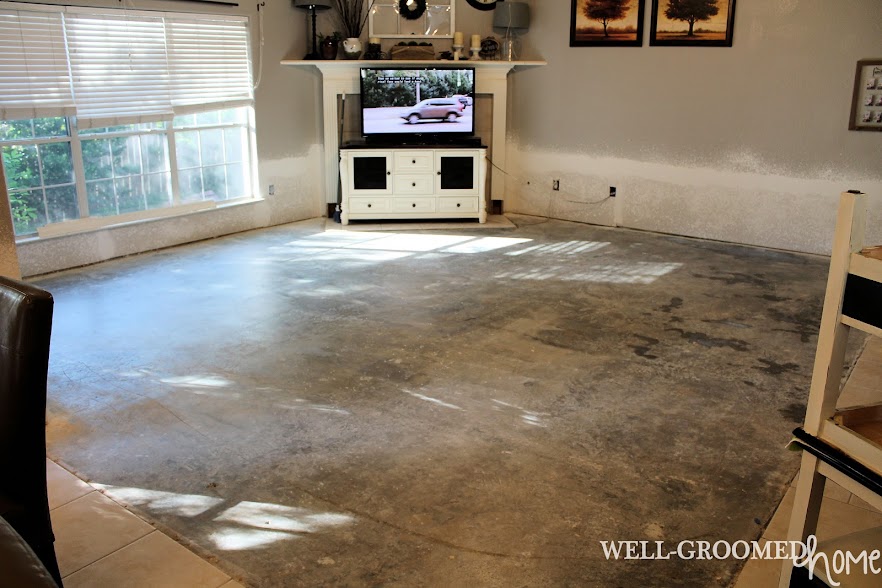
Okay and then let's get to the process! We started with a lovely concrete flooring courtesy of Harvey. Subsequently acclimating our new hardwood floor inside the business firm we were fix to get started – enough of the dusty concrete floors!
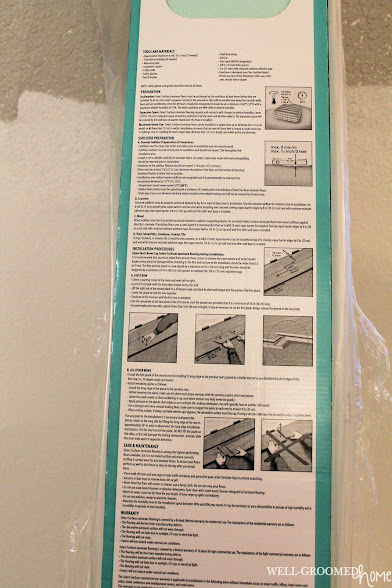
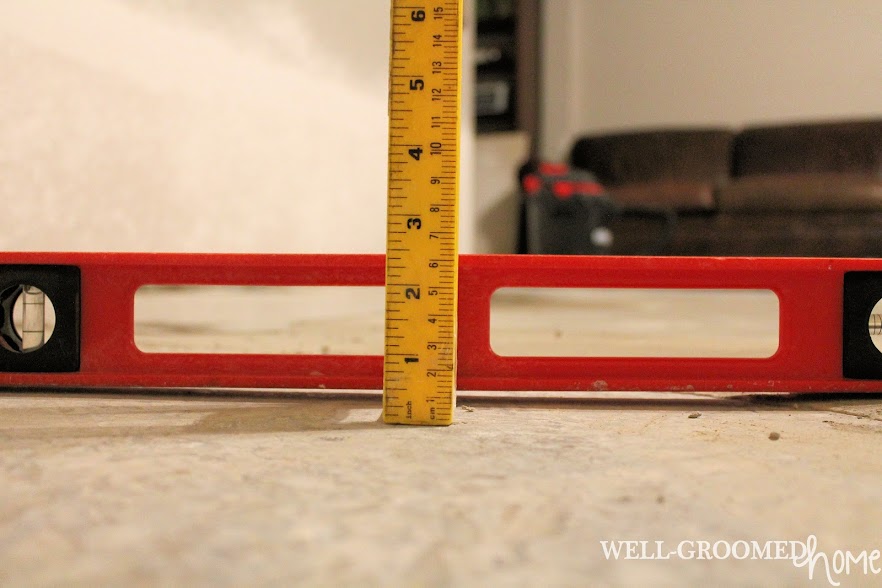
The directions are printed right on the box for quick access. Making certain we followed them precisely, the offset step is to meet if you have any low spots in your flooring.
Hardwoods don't need to be on a level surface, rather a apartment surface. Whatever dips or high spots will be felt underfoot so eliminating them earlier you start is the best matter to do. The manufacturer suggests that anything more than than 1/16th of an inch be corrected. To observe the low spots get a long staright board or a long level. Starting in 1 corner swing your straight edge over the surface of the floor looking for gaps betwixt the edge of the level and the floor. As you can see, nosotros had some spots that were mode more than than ane/16th inch! Mark those places with a wax crayon or chalk so you lot know where to put your self-leveling compound.
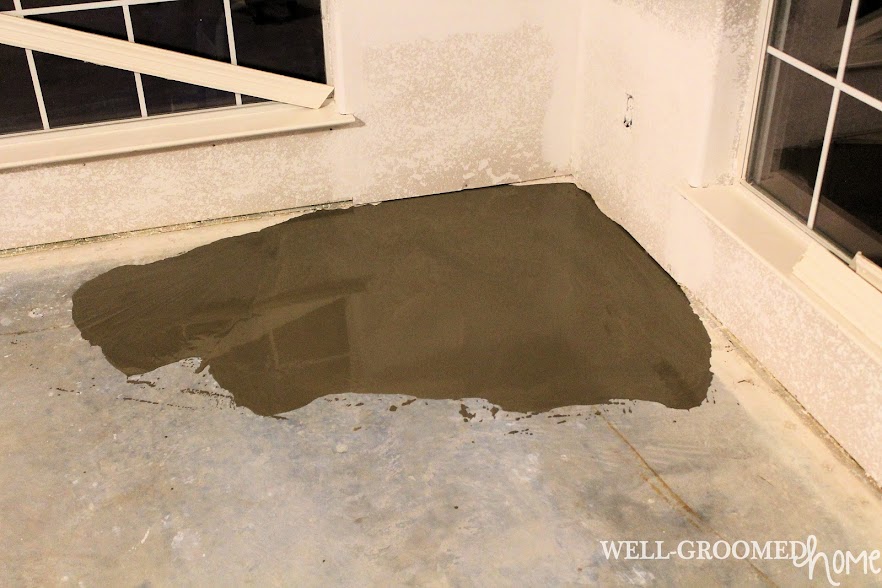
To "level" (or brand flat) the flooring nosotros used Level Quik RS. It requires that a primer be applied first and then the mix poured in the low spots. Y'all can choose to utilise it to the whole room if you want or y'all can merely spot treat if you don't have many bad places. It self-levels pretty easily and tin can exist walked on in about 4 hours.
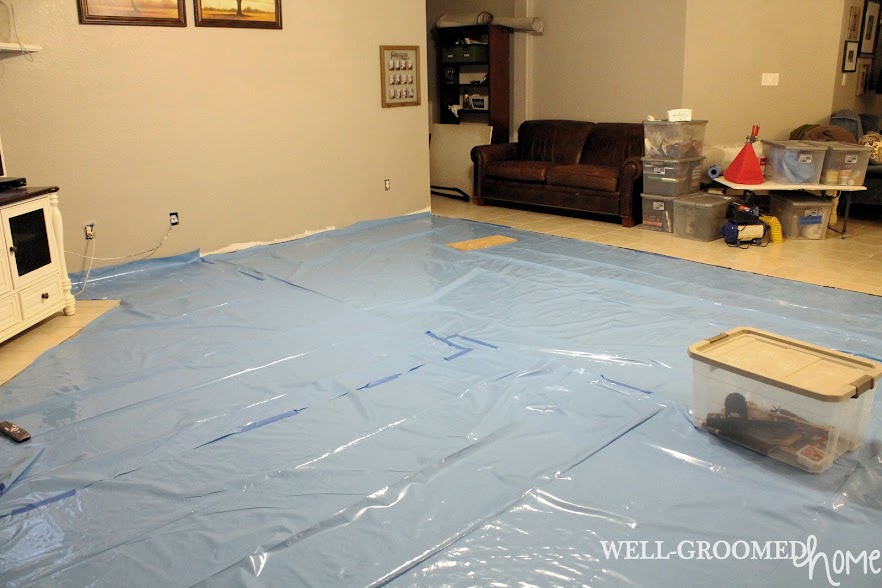
After the Level Quik stale, nosotros were able to put downward the 6MM underlayment. Since nosotros were installing on top of physical plastic underlayment is recommended every bit a moisture barrier.
Now it's time to install the floor! After finding the about square corner of the room (and keeping in mind the floor had to be installed left to right) we were ready to go. Just one trouble…the fact that we had no baseboards meant that using spacers next to drywall proved challenging. Regular plastic spacers were slipping under the drywall's edge and then we had to temporarily nail in ane/4 inch boards to create stable spacers.
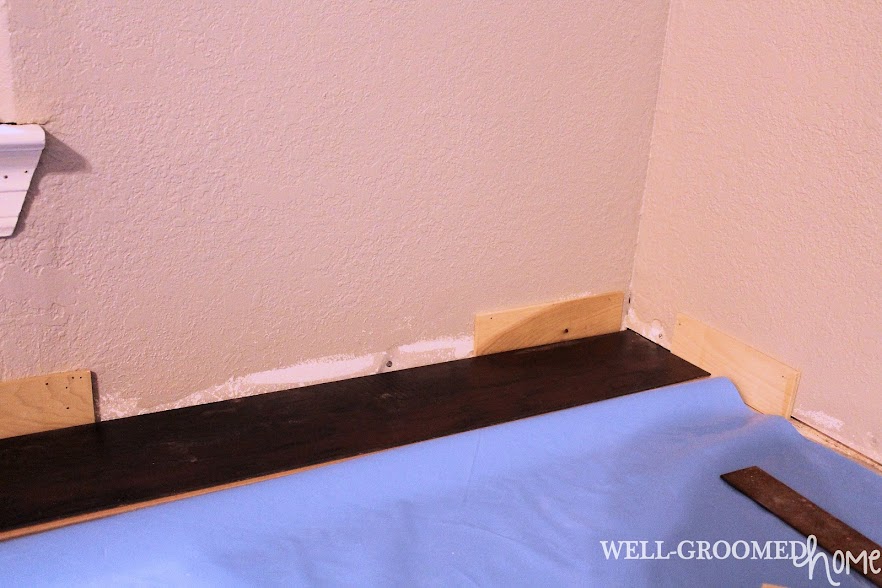
Getting the first row stable and straight is really the hardest office. Nosotros cut off the tongue closest to the wall to make the edge prissy and straight up confronting our spacers. After the first row is consummate, the last board you lot finish with gets cut and the left over piece is used to offset the next row. Just make certain to stagger your seams at least eight inches apart. Everything else just snaps into place and in that location is very little waste material unless you measure incorrectly! A rubber mallet and a saw were all nosotros needed to put this stuff together. Stopping to make cuts was the only thing that slowed usa down. After the boards were installed, cutting the baseboard and the transition moldings were the last step.
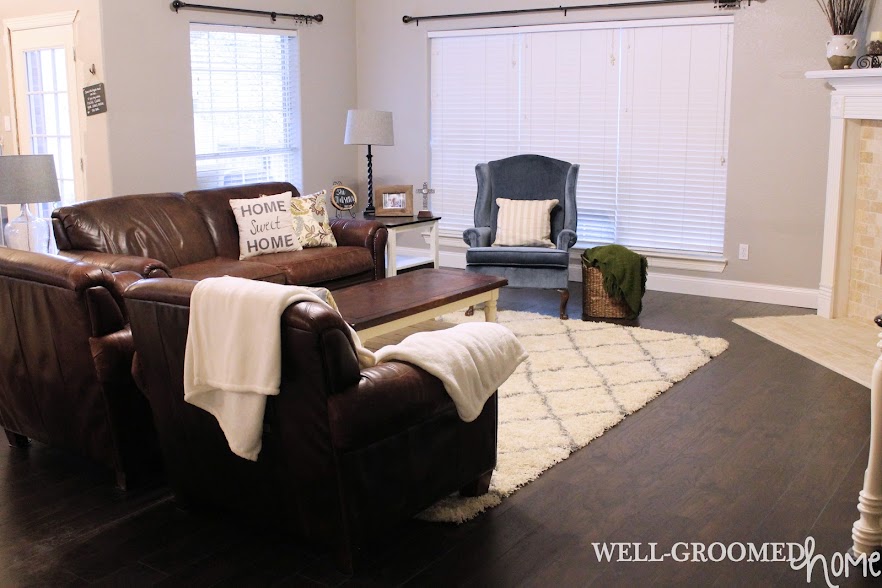
The installation process took us less than two days to consummate and that'due south with taking intendance of a very rambunctious toddler! We notwithstanding have quite a bit of work left to do (like curtains for example!), just it feels overnice to accept a functional living room again. I room 99% done and only ix more to get…

Source: http://wellgroomedhome.com/2017/10/flooring-installation-with-select-surfaces.html
Posted by: simardwhimenturn.blogspot.com
0 Response to "How To Install Select Surfaces Click Laminate Flooring"
Post a Comment